How to Make Clear Ice at Home (Directional Freezing)
- The Short Answer
- Why Ice Turns Cloudy in the First Place
- A Note on Water Quality
- What You Need
- Method 1: The Cooler Method (Directional Freezing)
- Method 2: Insulated Single-Direction Molds
- Cooler vs. Insulated Mold: Which to Use
- Troubleshooting Cloudy or Cracked Ice
- Cutting and Storing Clear Ice
- Do You Actually Need Clear Ice?
- Put Your Clear Ice to Use
The Short Answer
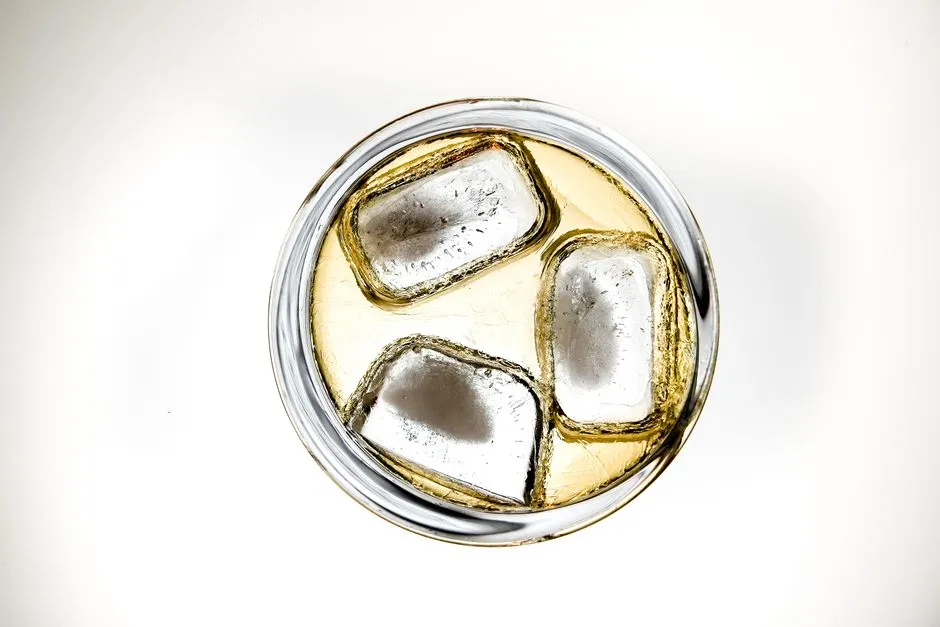
You don't need a countertop ice maker to get bar-quality clear ice. The reliable home method is directional freezing: fill a small insulated cooler with water, leave the lid off, and let it freeze in a normal freezer for roughly 18 to 24 hours. Because the cooler insulates the sides and bottom, the water freezes from the top down instead of from all directions at once. That single-direction freeze pushes the cloudy, gas-filled water toward the bottom of the block, where you can cut it away and keep only the clear top portion.
It costs almost nothing beyond a cooler and a good knife, and it's the same physics that specialty clear-ice molds are built around.
Why Ice Turns Cloudy in the First Place
Tap and filtered water both contain dissolved air and trace minerals. In a standard ice tray, water freezes inward from every surface at once. As the ice front closes in, it has nowhere to push the dissolved gas and minerals it's rejecting, so they get trapped as thousands of microscopic bubbles. Those bubbles scatter light, which is what reads to your eye as cloudy or white ice.
Clear ice isn't a different kind of water — it's water that had somewhere for those bubbles to go while it froze. Directional freezing gives them an escape route by controlling which direction the freeze front moves.
Temperature also plays a role. A very cold, fast-running freezer pushes the freeze front through the water quickly, giving dissolved gas less time to migrate ahead of it — which is part of why some directional-freeze attempts still come out slightly hazy near the edges even when the setup is right. A freezer running closer to the middle of its normal range, rather than its coldest setting, tends to give more consistent results for this method.
A Note on Water Quality
Tap water works for directional freezing in most homes, and the method addresses the main cause of cloudiness — trapped air — regardless of your water source. Filtered water can help if your tap water is heavy on dissolved minerals, since it reduces the fine sediment that sometimes lingers even in the clear portion of a block. Distilled water isn't necessary; it removes minerals but doesn't remove dissolved air any better than tap water, so it won't meaningfully improve on the cooler method by itself.
What You Need
- An insulated cooler, small enough to fit in your freezer with the lid off (a 6- to 12-quart cooler works well for most kitchen freezers)
- Water — tap water is fine; filtered water can reduce mineral cloudiness slightly but won't fix trapped-air cloudiness on its own
- A serrated bread knife or a sharp chef's knife
- A cutting board, ideally one you don't mind getting wet
- Optional: a rubber mallet, for breaking along score lines on thicker blocks
Method 1: The Cooler Method (Directional Freezing)
This is the standard home technique, and it's the one worth learning first.
- Fill the cooler with water, leaving an inch or two of headspace. Don't put the lid on — the open top is what lets the freeze travel downward instead of from all six sides.
- Set it in the freezer and leave it undisturbed. Depending on your cooler's size and your freezer's temperature, expect somewhere in the range of 18 to 24 hours, sometimes longer for larger coolers or freezers that run warmer.
- Pull it before it freezes solid. You want the block to still have a layer of unfrozen, cloudy water at the bottom — usually the bottom third or so of the cooler. If you let it freeze completely, the trapped impurities have nowhere left to go and will cloud the whole block.
- Remove the ice block. Run the outside of the cooler under warm water for a few seconds, or let it sit at room temperature for 10–15 minutes, and the block should slide free.
- Cut away the cloudy bottom. Set the block on a towel-lined cutting board and use a serrated knife to score a line where the clear ice ends and the cloudy section begins, then apply steady pressure (or a light mallet tap) to separate the two.
- Cut the clear portion into cubes or spears. Score your cut lines first, then press down firmly and evenly. Ice is more forgiving than glass, but it can crack unpredictably — go slow and keep your fingers clear of the line.
Method 2: Insulated Single-Direction Molds
If a full cooler feels like overkill, several brands sell smaller insulated ice molds built specifically to mimic directional freezing in a compact form — typically a foam or double-walled housing with an open top, sized for one to a few cubes. They work on the same principle as the cooler method: insulation on the sides and bottom forces the freeze to move downward, and you trim or simply lift out the clear portion once it's set.
These molds trade a bit of yield (fewer cubes per freeze) for convenience and consistent sizing. For a fuller rundown of which mold styles and sizes tend to work best, see our guide to ice molds for whiskey.
Cooler vs. Insulated Mold: Which to Use
Both methods rely on the same principle, so the choice mostly comes down to how much clear ice you want at a time and how much freezer space you can spare.
| Cooler Method | Insulated Single-Direction Mold | |
|---|---|---|
| Upfront cost | Low — most kitchens already have a small cooler | Moderate — a dedicated purchase |
| Yield per freeze | High — a whole block, cut into several cubes | Lower — usually one to a few cubes at a time |
| Freezer space needed | More — a cooler takes up real room | Less — most molds are compact |
| Hands-on cutting required | Yes — trimming and cutting the block is part of the process | Minimal to none — many just release a formed cube |
| Best for | Regular directional freezing, larger batches, spears | Occasional use, tighter freezer space, less cleanup |
Neither method is more "correct" — they're solving the same problem with different tradeoffs.
Troubleshooting Cloudy or Cracked Ice
| Problem | Likely Cause | Fix |
|---|---|---|
| Whole block came out cloudy | Left in the freezer until it froze solid, so trapped water had nowhere to go | Pull the cooler earlier — check at the 18-hour mark and look for unfrozen water pooled at the bottom |
| Block cracked down the middle | Freezer temperature swung, or the block was moved/bumped mid-freeze | Keep the cooler in a stable spot, away from the door, and avoid opening the freezer often during the freeze |
| Ice cubes are hazy despite directional freezing | Cutting too close to the cloudy layer, or water had heavy mineral content | Trim a bit deeper into the clear zone; try filtered water next time |
| Ice shattered while cutting | Cutting straight through cold ice with a single hard strike | Score a shallow line first, let the block temper a few minutes, then apply steady, even pressure |
| Cubes melt fast anyway | Cubes cut too small for the drink | Cut larger format cubes or spears — surface-area-to-volume ratio, not clarity, drives melt speed |
Cutting and Storing Clear Ice
Cut ice is more fragile to store than tray ice, mostly because it tends to fuse together or pick up freezer odors. A few habits help:
- Store cubes in a sealed container or freezer bag, not loose on a tray, to cut down on freezer-smell absorption.
- Separate layers with parchment if you're stacking cubes, so they don't weld into one block overnight.
- Cut only what you'll use in the next week or two. Clear ice doesn't spoil, but prolonged freezer storage can dull its clarity and introduce a faint stale-freezer taste.
Do You Actually Need Clear Ice?
Clear ice is a presentation and density upgrade, not a flavor requirement — cloudy ice cools and dilutes a drink the same way, just with a less polished look and, because it's typically cut smaller, sometimes a faster melt. If you're mainly after slower dilution rather than clarity, a well-made large-format cube from a standard silicone mold gets you most of the practical benefit without the multi-day process.
Whiskey stones are a different tool entirely and worth understanding on their own terms — see our honest breakdown of whiskey stones versus ice if you're deciding between the two.
Put Your Clear Ice to Use
A clear, large-format cube is built for drinks that call for a single big rock — an Old Fashioned is the classic example. If you want the full technique alongside the ice, our guide to making an Old Fashioned covers the build, and our home bar essentials guide rounds out the rest of the kit worth having on hand.